Wood Burning for Beginners: Pyrography Basics, Tools & Safety
Affiliate disclosure: As an Amazon Associate, WoodyMan Reviews earns from qualifying purchases. If you buy through links on this page, we may earn a commission at no extra cost to you. How this works.
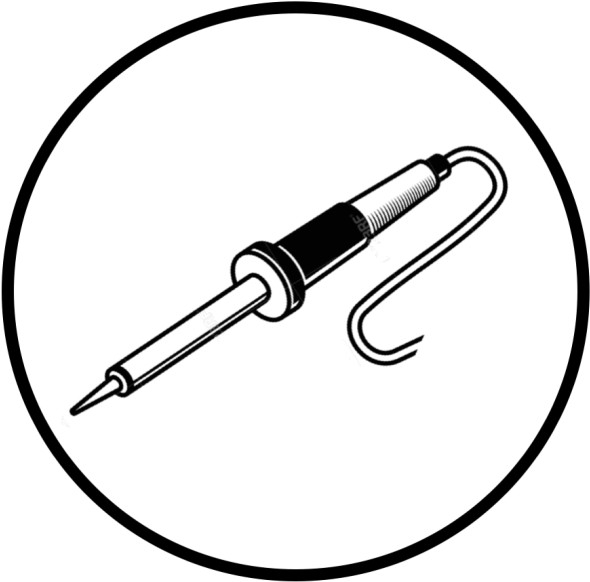
Pyrography - the art of "writing with fire" - is one of the cheapest, most beginner-friendly ways into woodcraft: a heated pen, a piece of light wood, and you're making art in an afternoon. But two decisions shape your whole experience, and getting them right up front saves a lot of frustration:
- Solid-tip vs. wire-nib. A solid-tip tool heats a brass point (like a soldering iron) - cheap, durable, great for learning and lettering, but slower to change tips and slower to respond. A wire-nib tool heats a thin wire that you can shape; it heats and cools in seconds, gives finer control and shading, and swaps tips instantly - the choice for serious detail, at a higher price.
- Fixed vs. variable temperature. Variable temperature control is worth having from day one - different woods and different strokes need different heat, and a fixed-temp tool fights you.
Below are the best starter and step-up kits, then everything you need to actually get burning - including the safety part the title promises.
We earn a small commission from the Amazon links below, at no extra cost to you - see our affiliate disclosure.
The 4 best wood burning kits
| Kit | Type / Best for | Woody Rating | |
|---|---|---|---|
| 1. Walnut Hollow Creative Versa-Tool | Solid-tip - best for beginners | 9.0/10 [Editor's Choice] | Check price |
| 2. Chandler Tool Wood Burning Kit | Solid-tip - best budget starter | 8.5/10 | Check price |
| 3. TRUArt Stage 2 (Dual Pen) | Wire-nib - best step-up | 9.1/10 | Check price |
| 4. 100W Pyrography Station | Wire-nib - best hot pro station | 8.7/10 | Check price |
1. Walnut Hollow Creative Versa-Tool - Best for Beginners
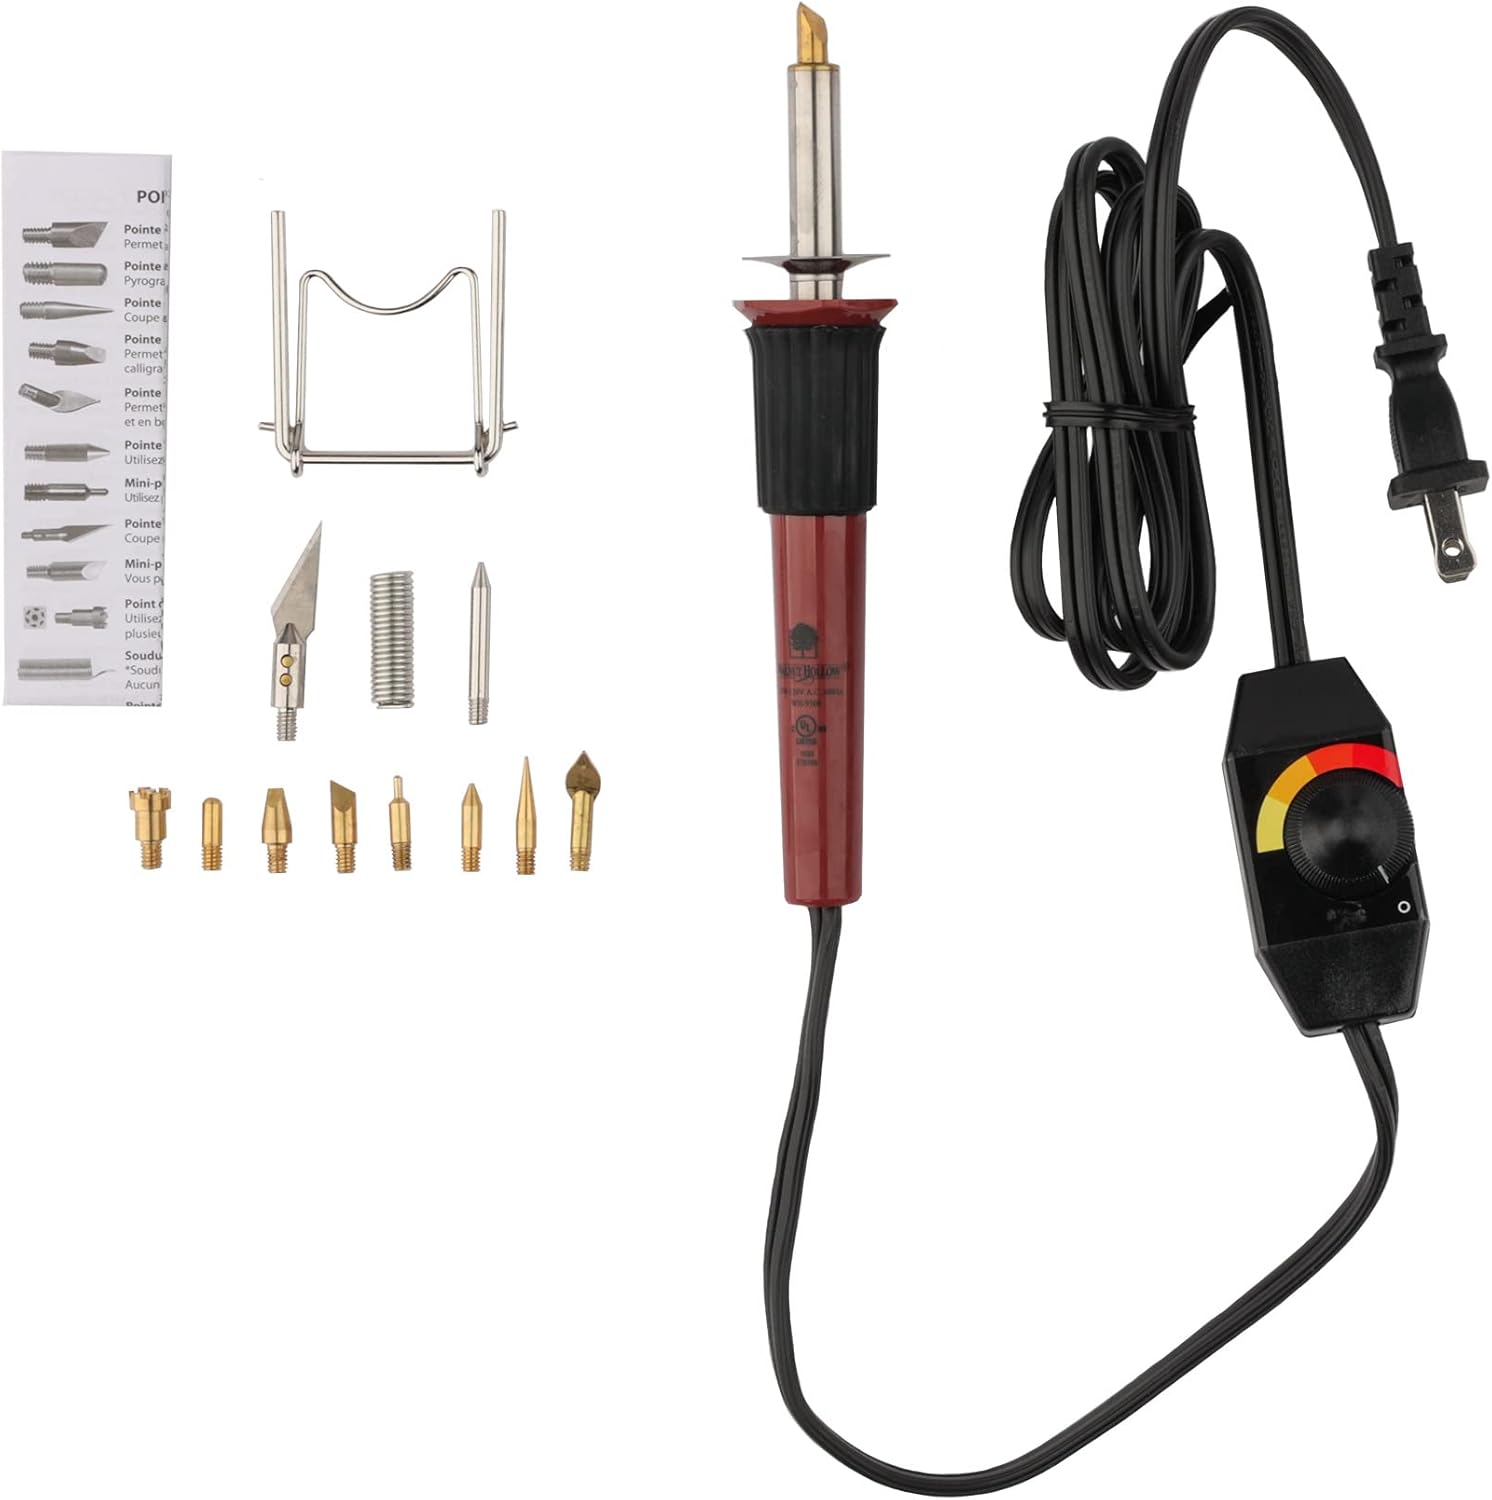
Best for: the first-timer who wants a quality, affordable solid-tip tool with real temperature control.
The Versa-Tool is the classic beginner's pyrography pen for good reason: it's a solid-tip tool with a built-in variable temperature dial, so unlike the cheapest fixed-temp irons it actually lets you adjust heat for different woods and strokes. It heats up fast, comes with a good spread of interchangeable points (universal, shading, calligraphy, and more) plus a stand, and it's durable enough to last for years of casual use. Tip changes require letting it cool and twisting the point off, so it's slower than a wire tool - but for learning lettering, outlining, and general burning at a friendly price, nothing beats its balance of quality and value. The tool most beginners should start with.
| Pros | Cons |
|---|---|
| ✅ Variable temperature - rare at this price | ❌ Slow tip changes (must cool) |
| ✅ Durable; good range of points + stand | ❌ Less fine control than wire nibs |
| ✅ Great value for learning |
2. Chandler Tool Wood Burning Kit - Best Budget Starter
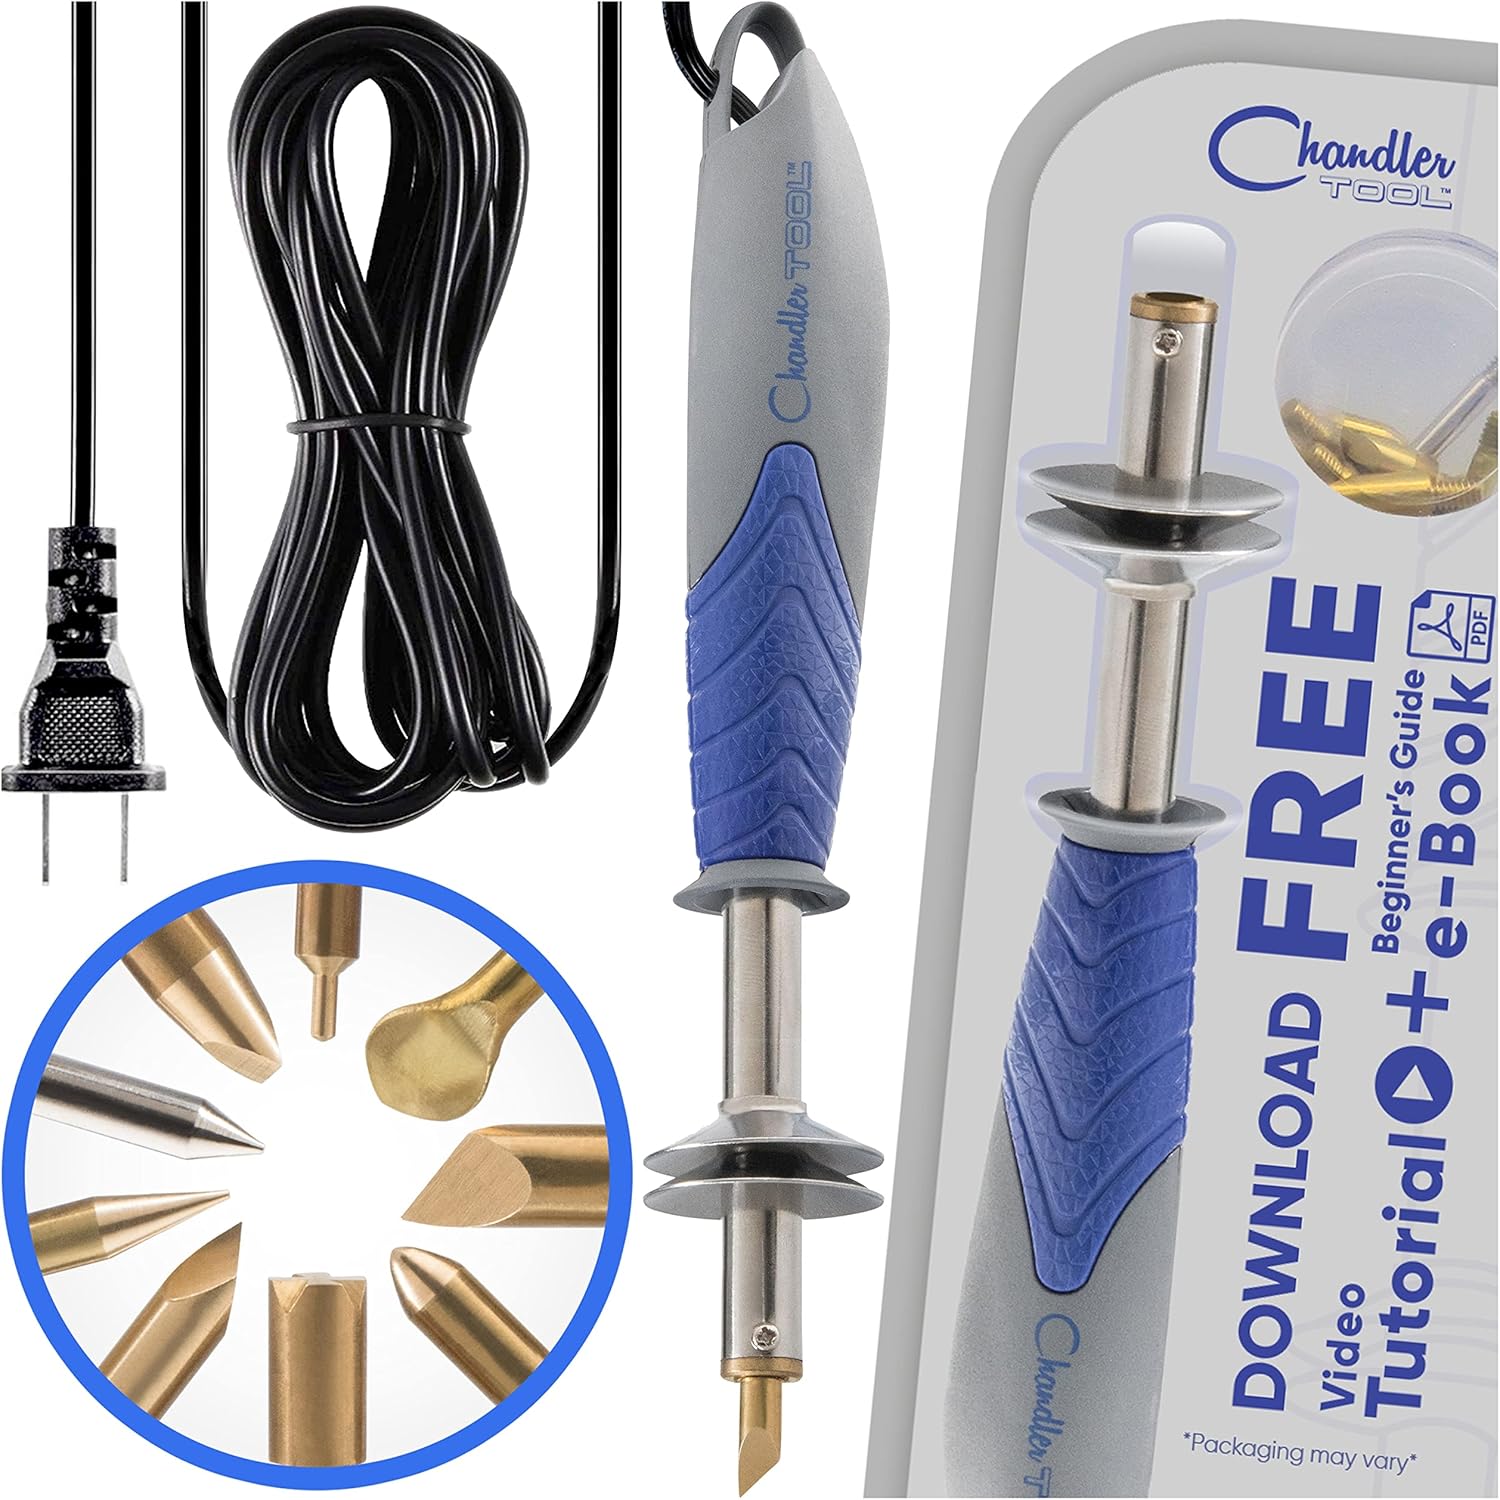
Best for: the lowest-cost way to try pyrography, or a kit for kids and classrooms.
If you just want to test whether wood burning is for you without spending much, the Chandler Tool kit is a well-reviewed, inexpensive solid-tip pen that ships with a generous set of tips and stencils to start creating right away. It's a fixed-style solid-tip tool, so it's simpler (and heats to one working range) rather than dial-adjustable, but it's dependable, comes with everything a beginner needs in the box, and its low price makes it a favorite for gifts, kids, and casual crafters. Step up to the Versa-Tool when you want temperature control, or to a wire tool for detail - but as a first, low-commitment taste of the hobby, it delivers.
| Pros | Cons |
|---|---|
| ✅ Very cheap; complete starter kit | ❌ Basic temperature control |
| ✅ Lots of tips + stencils included | ❌ Slower to respond than wire tools |
| ✅ Great for kids/gifts |
3. TRUArt Stage 2 (Dual Pen) - Best Step-Up
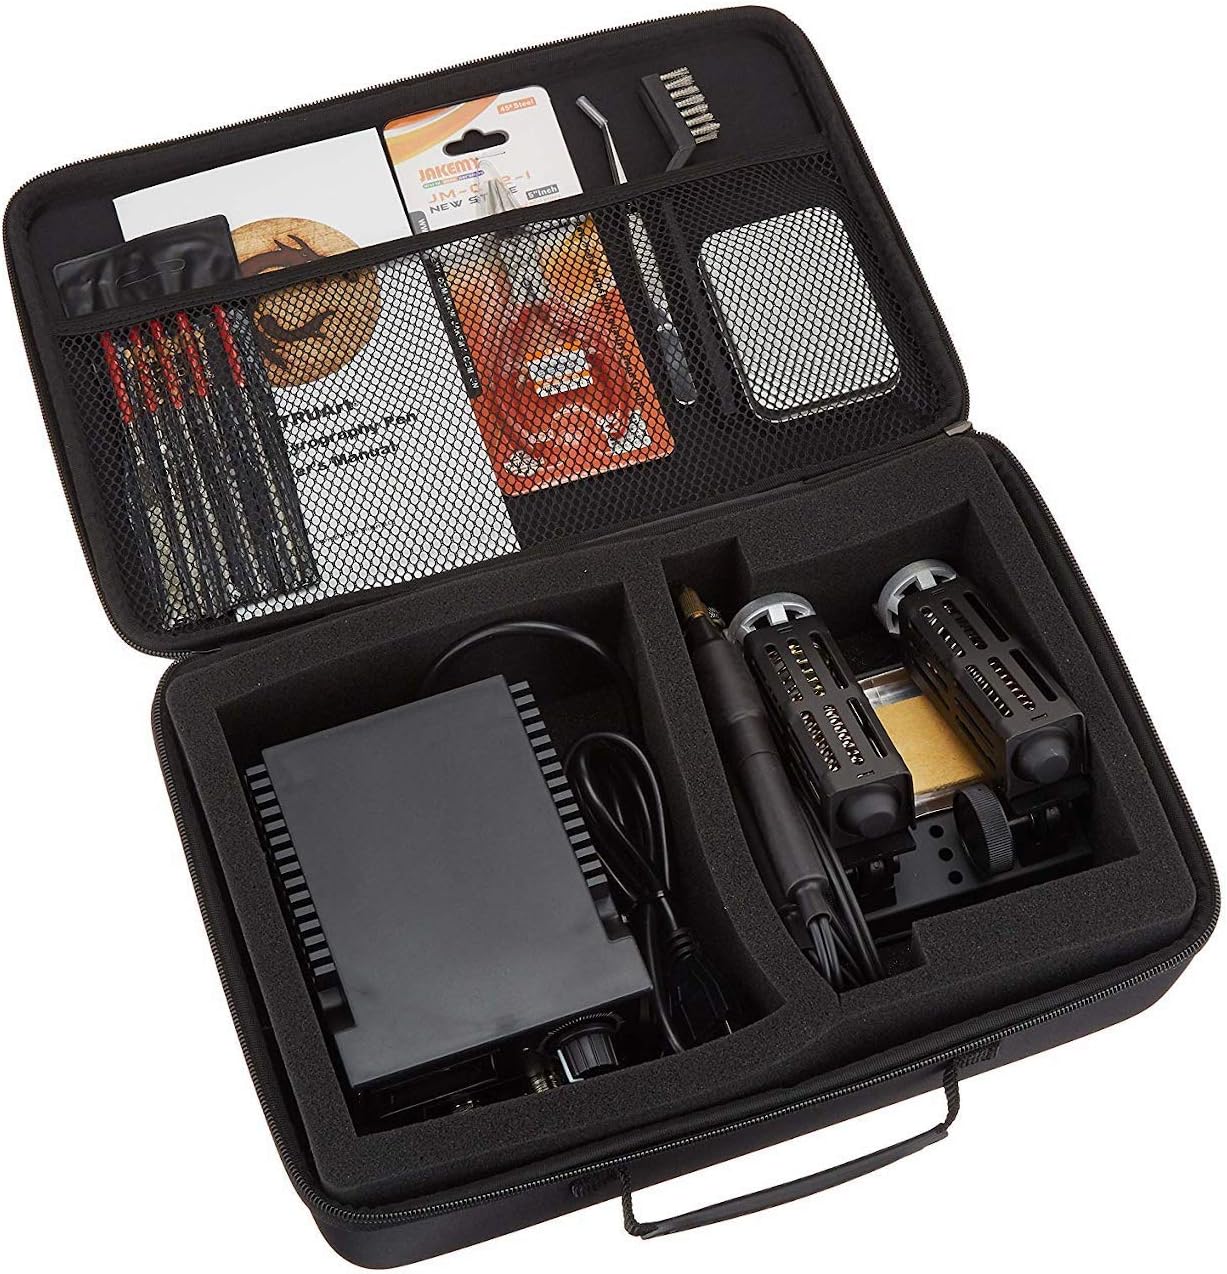
Best for: anyone serious about detail and shading who's ready for a proper wire-nib machine.
This is the tool that changes the hobby. The TRUArt Stage 2 is a 60W wire-nib detailer with digital temperature control, and the difference from a solid-tip is night and day: the thin wire nibs heat and cool in seconds, respond instantly to temperature changes, and give the fine control that makes realistic shading and detail possible. The dual-pen setup lets you keep two nibs hot at once (say, a shader and a fine point) and switch without waiting. It comes with a big set of tips and a case. It costs more than the solid-tip pens and it's more tool than a total beginner needs on day one - but it's the machine you'll grow into and keep. For portraits, animals, and fine art, start here.
| Pros | Cons |
|---|---|
| ✅ Wire nibs - instant heat, fine control | ❌ Pricier than solid-tip pens |
| ✅ Digital temp + dual pens | ❌ More than a day-one beginner needs |
| ✅ Big tip set + case; great for shading |
4. 100W Pyrography Station - Best Hot Pro Station
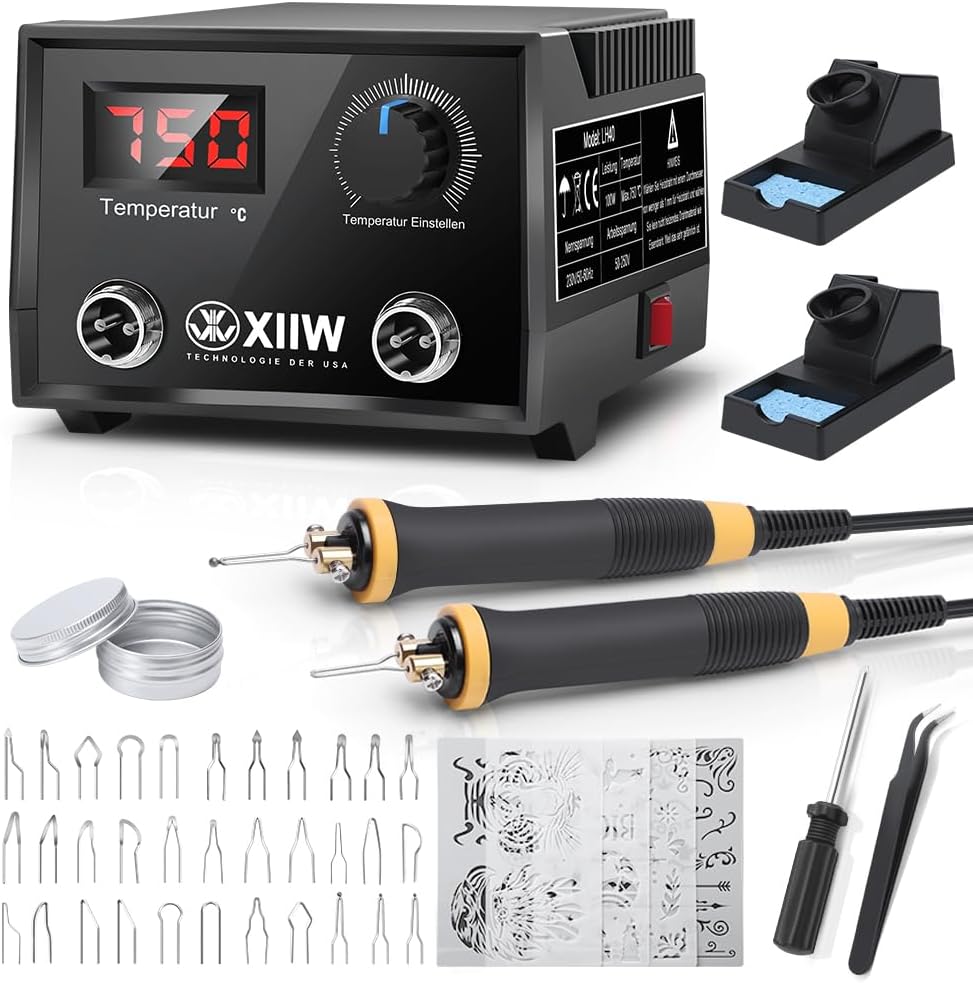
Best for: burning hard woods, working fast, and anyone who wants maximum power and tip selection.
For the most power, a 100W station with two pens and a large set of wire tips gives you high, precisely adjustable temperature - useful for dense hardwoods and gourds that a lower-wattage tool struggles with, and for working quickly. Wire nibs heat instantly, the wide temperature range (adjustable up to very high settings) handles everything from delicate shading to deep burns, and the big tip assortment covers most techniques out of the box. It's overkill for a casual beginner and the sheer power demands respect (and good ventilation), but for a dedicated hobbyist or someone burning tougher materials, it's a lot of capability for the money.
| Pros | Cons |
|---|---|
| ✅ High power - hardwoods, fast work | ❌ Overkill for casual beginners |
| ✅ Wide temp range; many wire tips | ❌ High heat demands care/ventilation |
| ✅ Two pens included |
Getting started with pyrography
Choose the right wood
The best beginner woods are light, close-grained, and untreated: basswood, birch plywood, poplar, and pine (pine's uneven grain is a little trickier). Light color shows your burn; close grain burns evenly. Avoid dense, oily, or figured woods until you have some control.
Set the temperature and go slow
Start on scrap. Too cool and you press hard and gouge; too hot and you scorch and lose control. Let the tip do the work - light, steady pressure and consistent speed give an even line. Move faster for a lighter tone, slower or hotter for a darker one. Build shading in layers rather than one heavy pass.
Transfer your design
Sketch lightly in pencil, or use graphite transfer paper to trace a printed design onto the wood. Avoid regular carbon paper (it can smear and won't burn away). Then burn along your lines.
Finish the piece
Once burned, you can leave it natural, add color (watercolor or colored pencil), and seal with a clear finish. Test any finish on scrap first.
Safety: how to not start a fire (or hurt your lungs)
Pyrography is safe if you respect a few rules:
- Ventilate and wear a respirator. The smoke from burning wood is the real hazard - work in a well-ventilated space, use a small fan to pull fumes away from your face, and wear a proper particulate mask. This matters more than the flame.
- Never burn treated, painted, or manufactured wood. Pressure-treated lumber, plywood with certain glues, MDF, and anything painted or stained can release toxic fumes when burned. Stick to bare, natural, untreated wood.
- Mind the hot tip. It reaches hundreds of degrees. Always return the pen to its stand, never lay it on the bench, keep it away from anything flammable, and let it cool fully before changing tips or storing.
- Protect your surface. Work on a heat-resistant mat, keep water or a damp cloth nearby, and don't leave a hot tool unattended.
Do those and the only thing burning is your artwork.
Frequently Asked Questions
What's the best wood burning tool for beginners?
A solid-tip tool with variable temperature, like the Walnut Hollow Creative Versa-Tool. It's affordable, durable, and lets you adjust heat for different woods - everything a beginner needs to learn lettering, outlining, and basic shading before deciding whether to move up to a wire-nib machine.
What's the difference between solid-tip and wire-nib wood burners?
A solid-tip heats a brass point like a soldering iron - cheap and durable but slow to change tips and less responsive. A wire-nib heats a thin wire that cools and heats in seconds, giving finer control and instant tip swaps - better for detail and shading, at a higher price. Beginners often start solid-tip and upgrade to wire.
What wood is best for wood burning?
Light, close-grained, untreated woods: basswood (the favorite), birch plywood, poplar, and pine. They show the burn clearly and scorch evenly. Avoid dense, oily, figured, treated, or painted woods.
Is wood burning dangerous?
The main risk is the smoke, not the flame - always ventilate and wear a respirator, and never burn treated, painted, or manufactured wood, which can release toxic fumes. Handle the hot tip carefully and keep it on its stand. With ventilation and untreated wood, pyrography is a safe hobby.
Do I need a laser instead of a burning pen?
Not for handcraft. A pyrography pen is for freehand art and lettering. If you want to engrave designs precisely and repeatably, that's a job for a laser - see our guide to wood laser cutters. Many crafters do both.
More to explore
UK reader? See our best pyrography kit UK picks. Curious about the machine route to burned designs? Read our wood laser cutters guide. And for the raw material, our wood milling guide explains how boards are made.