Sandpaper Grit Chart: Every Grit From 24 to 2000, Explained
The short version: 40-60 grit removes material, 80-120 shapes and smooths, 150-220 preps bare wood for finish, 320-400 sands between finish coats, and 600+ is for polishing a cured finish, not wood. Almost every woodworking job is a walk up some section of that ladder, never skipping more than one step. The chart below is the whole system in one place - bookmark it, because the question "what grit do I need?" never stops coming up.
The full grit chart
| Grit | Class | What it's for |
|---|---|---|
| 24-36 | Extra coarse | Floor drum sanding, heavy paint/varnish stripping, aggressive leveling. Removes wood you can't put back. |
| 40-60 | Coarse | Stripping finishes with a power sander, rough shaping, erasing deep gouges and mill marks. |
| 80 | Medium | The classic first grit on rough bare wood; general shaping; first pass on old furniture. |
| 100-120 | Medium-fine | Smoothing after 80; the workhorse range for most power sanding; scuffing old paint before repainting. |
| 150-180 | Fine | Final prep before painting or priming; erasing 120's scratches. |
| 220 | Very fine | Final prep before stain or clear finish on most woods; the last grit bare wood usually needs. |
| 320-400 | Extra fine | Light scuff between coats of poly, lacquer, or paint (de-nibbing); smoothing raised grain. |
| 600-800 | Micro | Leveling a cured finish, usually wet; first stages of a rubbed finish. |
| 1000-2000+ | Micro | Polishing a cured film finish toward gloss; automotive-style finishing. Never used on bare wood. |
The one rule: don't skip grits
Each grit's job is to erase the scratches of the grit before it. Jump from 80 straight to 220 and the 220 will polish the tops of the 80-grit scratches without ever reaching the bottoms - invisible on raw wood, ugly the instant stain pools dark in them. Practical spacing: roughly every other number in the standard sequence (80 → 120 → 180 → 220 is fine; 80 → 220 is not). Under a raking light, when you can't see the previous grit's straight scratches anymore, move up.
The other half of the rule: start as fine as the job allows. Every pass with 40 grit removes wood permanently. If 120 will do it, 80 was a mistake.
Which grits for which job
| Job | Sequence |
|---|---|
| Rough bare wood → clear finish | 80 → 120 → 180 → 220 |
| Planed/pre-sanded boards → finish | 120 → 180 → 220 |
| Repainting furniture (sound finish) | one pass at 120-220 - a scuff sand, not a strip |
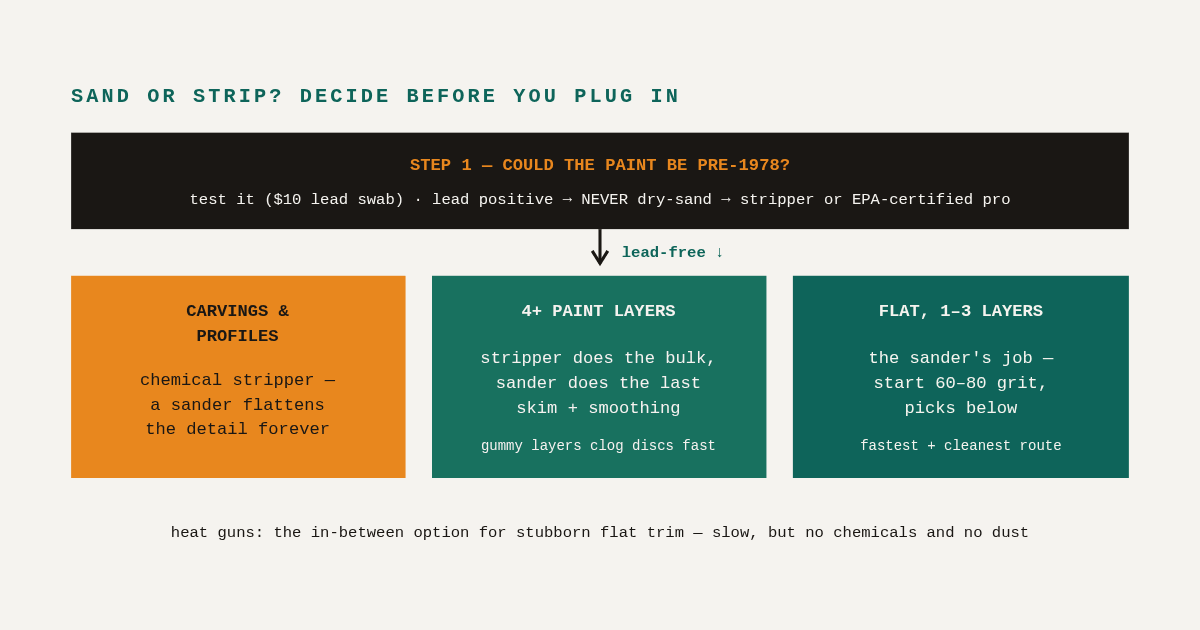
| Stripping paint to bare wood | 40/60 → 80 → 120 → 180 - full walkthrough in the paint removal grit guide |
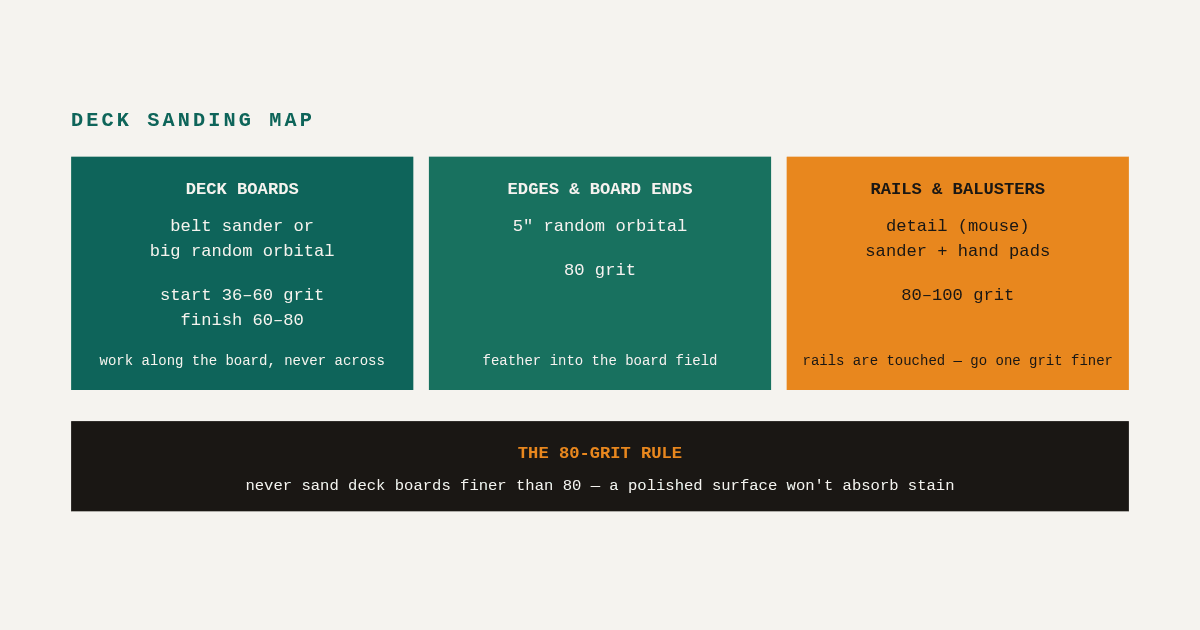
| Hardwood floors | 36 → 60 → 80 (+100 if staining) - details in the floor grit sequence |
| Between finish coats | one light pass at 320-400, then tack off |
| Polishing a cured finish | 600 → 800 → 1000+, wet |
| End grain | one grit finer than the faces - it drinks stain otherwise |
Want the sequence picked for you? The sandpaper grit picker turns your surface + finish goal into the exact ladder, stopping rules included.
CAMI vs FEPA: the "P" trap
Two numbering systems share the shelf. American CAMI grits have no prefix (220); European FEPA grits carry a P (P220). They track closely up to ~220, then diverge hard: P400 ≈ 320 CAMI, P800 ≈ 600 CAMI, P1200 ≈ 800 CAMI. If a tutorial says "400 grit" and your paper says "P400," you're holding a coarser sheet than the author meant. Below 220 you can ignore the whole issue; above it, check the prefix.
Abrasive types, briefly
- Aluminum oxide - the default for wood; durable, cheap, everywhere.
- Ceramic / ceramic-blend - cuts faster and lasts longer at coarse grits; worth it for heavy removal on a belt or orbital.
- Silicon carbide (usually black, "wet/dry") - the one for wet sanding finishes and for metal; waterproof backings.
- Garnet - old-school hand-sanding paper; dulls fast but leaves a soft scratch that stains evenly.
Brand matters less than grit discipline, but it does matter - we compared the majors in our sandpaper brands guide.
FAQ
What grit do I use to sand wood before staining? Finish at 180-220 on most hardwoods. Softer, blotch-prone woods (pine, maple) often stain more evenly stopped at 180 - finer can burnish the surface and block absorption.
What does "grit" actually measure? Particles per square inch of screen during grading - higher number, smaller particles, finer scratch. That's why the scale runs backwards from intuition.
Is there a "best all-purpose" grit? 120. If a drawer could hold only one grit, 120 shapes, smooths, and scuffs acceptably. The moment you own two: 80 and 220.
What grit for a power sander vs hand sanding? Same numbers, same ladder - a random orbital just gets there faster. Hand-sand the final grit with the grain to erase any orbital squiggles before staining.
Do higher grits make wood smoother forever? Past ~220 on bare wood you're mostly burnishing, which hurts stain and glue absorption. Save 320+ for the finish film, where it belongs.