What Grit Sandpaper for Hardwood Floors? The Exact Sequence
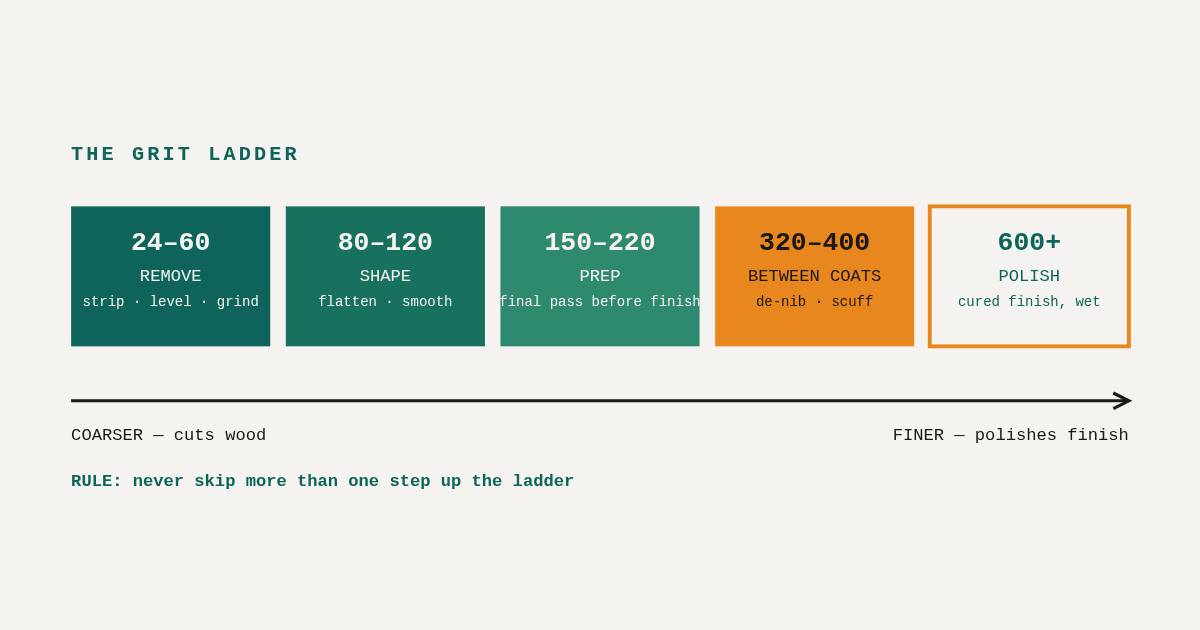
Short answer: most hardwood floors get refinished with a three-step sequence - start at 36 grit to cut off the old finish, move to 60 grit to erase the 36's scratches, and finish at 80 grit (add 100 if you're staining or leaving the wood natural). Floors that haven't been touched in decades, or that need flattening, start coarser at 24 grit. Between coats of polyurethane you'll use 120. That's the whole system - the rest of this page is when to deviate from it, and the one mistake that wrecks more stain jobs than anything else.
Where to start, by floor condition
| Floor condition | Starting grit | Full sequence |
|---|---|---|
| Normal refinish (finish intact, floor flat) | 36 | 36 → 60 → 80 |
| Staining or natural (no color hides scratches) | 36 | 36 → 60 → 80 → 100 |
| Very old floor, 25-30+ years since last sanding | 24 | 24 → 36 → 60 → 80 |
| Cupped/uneven boards that need flattening | 24 | 24 → 36 → 60 → 80 |
| Paint or thick multi-layer finish | 24 | 24 → 36 → 60 → 80 |
| Between polyurethane coats | 120 | one light pass, then vacuum + tack |
Two rules make the table work:
- Start as fine as the job allows. Every grit below 36 removes wood you can never put back - a 3/4" solid floor only has so many sandings in it.
- Don't start too fine either. 60 grit will not cut through polyurethane in any reasonable time; it just burnishes it. If the paper stops loading up with finish and starts sliding, you started too fine.
The mistake that ruins stain jobs: skipping grits
Each grit exists to remove the scratches of the one before it. Jump straight from 36 to 80 and the 80 will polish the tops of the 36-grit scratches without reaching the bottoms - invisible on raw wood, glaring the moment stain hits it, because stain pools dark in deep scratches. Keep steps to roughly 20-30 grit numbers, and if you can still see coarse scratch lines under a raking light, you're not done with that grit.
Drum sander vs. edger vs. corners
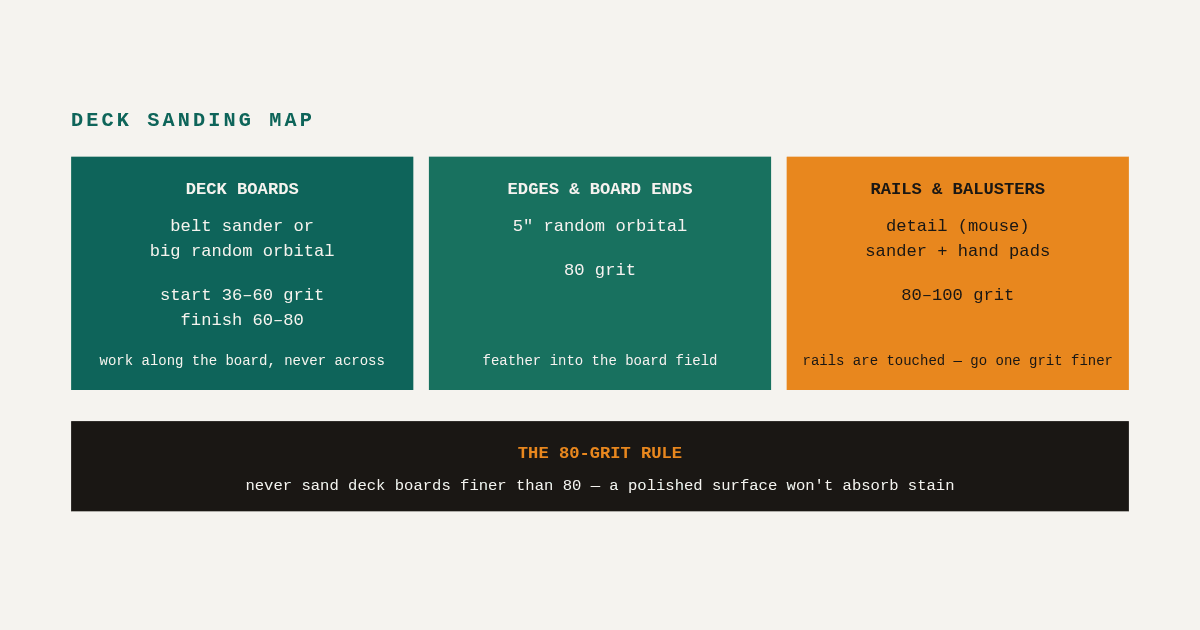
The big rental drum (or belt) machine does the field of the floor; a rented edger does the strip the drum can't reach along walls; the last few inches in corners and around radiators are hand or detail-sander territory. Run the same grit sequence on all three - an edger left at 36 while the field went to 80 leaves a visible "picture frame" around the room after staining.
For small floors, closets, or repairs where a rental drum is overkill, a good random orbital can do the whole job slowly - our woodworking sander guide covers the machines that are up to it.
After the last pass
Vacuum the floor, the walls, and the window sills - then wipe the floor with a barely damp microfiber. Any dust left behind ends up as grit texture in your first coat of finish. If you're choosing what goes on top, we've compared the options for painted wood floors and long-term floor polish.
FAQ
Can I skip 60 and go 36 → 80? No - that's the classic stain-job killer described above. The intermediate grit is not optional.
What grit for a floor that just looks dull, not damaged? That's not a refinish, it's a screen-and-recoat: an abrasive screen at 120-150 to scuff the existing finish, then a fresh topcoat. No bare wood involved.
Same sequence for engineered hardwood? The sequence is the same, but engineered wear layers are thin (often 2-4 mm). One careful refinish is usually all they have in them; start at 36, never 24.
Do orbital rental machines (like a U-Sand) change the grits? No - same sequence. They're just slower and more forgiving than a drum, which also makes them harder to ruin a floor with.