How to Sand Stair Spindles and Tight Corners (Without Losing a Weekend)
Affiliate disclosure: As an Amazon Associate, WoodyMan Reviews earns from qualifying purchases. If you buy through links on this page, we may earn a commission at no extra cost to you. How this works.
The honest answer up front: spindles are mostly a hand job, and the technique that works is the "shoeshine" - wrap a strip of sandpaper around the spindle and pull it back and forth like buffing a shoe. Power tools handle the flats and the corners of the newel posts; nothing motorized sands a turned baluster faster than a strip and two hands. What separates a weekend job from a week is strip preparation, grit choice, and knowing which 20% of the work actually needs to be thorough.
The shoeshine method, properly
- Cut strips, then reinforce them. Cut sandpaper into strips 25-50 mm wide - narrow for coves and beads, wide for straight sections. Plain paper tears mid-pull, so back each strip with duct tape (or start from cloth-backed abrasive, which needs no reinforcement). This one trick triples strip life.
- Wrap, pull, rotate. Wrap the strip most of the way around the spindle, hold an end in each hand, and pull alternately - the strip conforms to every curve automatically. Work up and down the length as you go so you don't sand a waist into one spot.
- Follow the profile. On beads and coves, twist the strip to ride the detail. For the tightest grooves, abrasive cord (sandpaper in shoelace form) drops into the detail and works the same way.
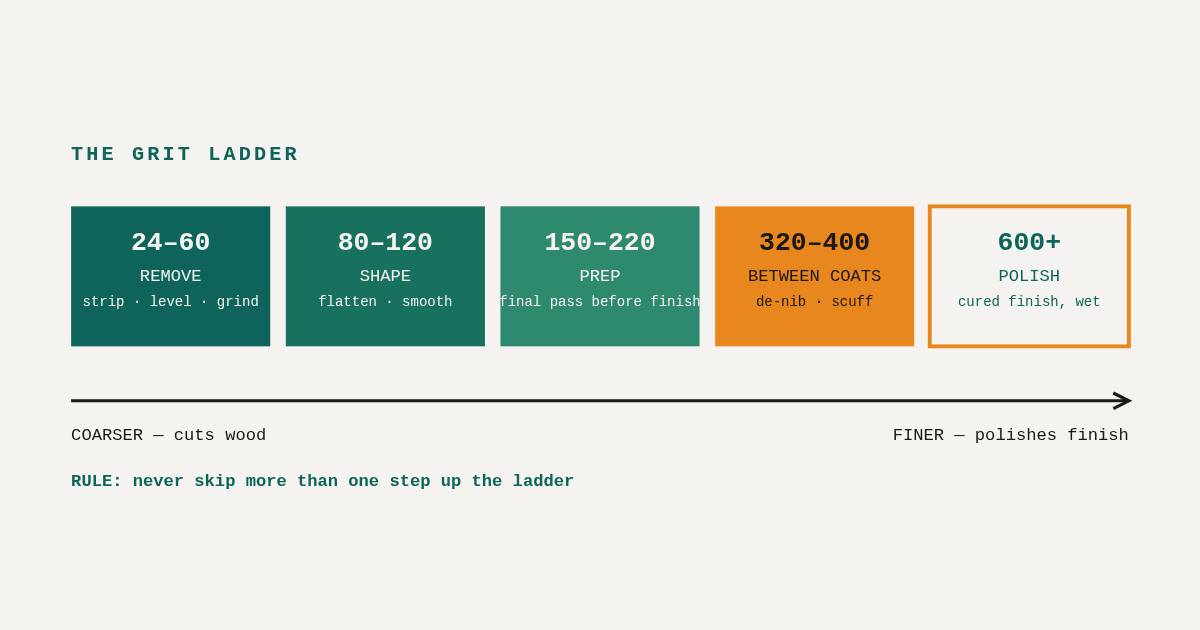
- Walk the grits. Sound finish being repainted: one pass at 120-180 is enough - you're scuff sanding, not stripping. Stripping to bare wood: 80, then 120, then 180, and only where the finish is actually failing.
Where power tools actually help
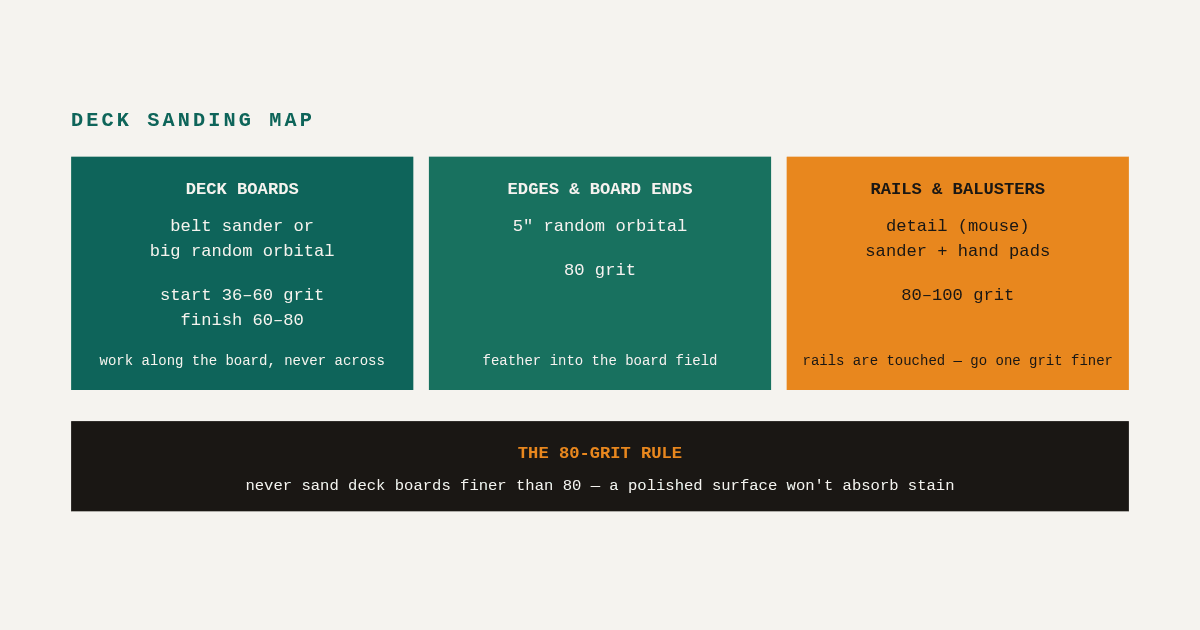
- The flats and corners around the spindles - treads, risers, stringers, newel posts - are perfect mouse sander territory: the pointed tip reaches the 90° corner where baluster meets tread. Technique matters more than the tool; our mouse sander how-to covers the no-pressure rule that keeps swirls out of stain-grade work.
- A detail finger attachment (the slim snap-on nose on the BLACK+DECKER BDEMS600 and similar) fits between closely-spaced balusters where even the main pad won't.
- What doesn't work: orbital sanders on turned work (round pad, round spindle, almost no contact), and anything aggressive near the delicate edges of a profile - power tools flatten details that took a lathe to make.
Order of operations for a full staircase
Top of the job to bottom, dust falls downhill: handrail → spindles → newel posts → treads and risers → skirting/stringers. Vacuum between grits - grit left on the work re-scratches everything that touches it. If the balustrade was painted before 1978, swab-test for lead before any dry sanding.
Budget reality check: a typical staircase has 25-40 spindles, and each takes 10-20 minutes by hand depending on profile depth and how many layers you're cutting through. That's the honest math behind "a weekend" - and why the scuff-sand-and-repaint route beats strip-to-bare-wood whenever the existing finish is sound.
FAQ
Can I use a chemical stripper instead of sanding spindles? For multi-layer paint on deep profiles, yes - stripper does the layers, then sandpaper does the smoothing. It's messier but often faster past three layers of paint. You'll still finish with the shoeshine strips at 120-180.
What grit sequence for spindles being stained (not painted)? Strip fully, then 80 → 120 → 180, finishing with the grain (long-ways) by hand. Stain magnifies every cross-grain scratch the strip left - the final pass matters more here than on paint-bound work.
Is there a drill attachment that sands spindles? Flap wheels and sanding stars exist and work on simple profiles, but they're aggressive and love to chew through the crisp edges of beads. Test on the least visible spindle first, and keep the speed low.
How do I sand the gap where two spindles are almost touching? Abrasive cord or a folded strip's edge. If a mouse sander's detail finger doesn't fit, nothing motorized will - don't force a tool into a slot it doesn't fit; that's how profiles get gouged.