The Comprehensive Guide to Wood Milling: From Log to Usable Lumber
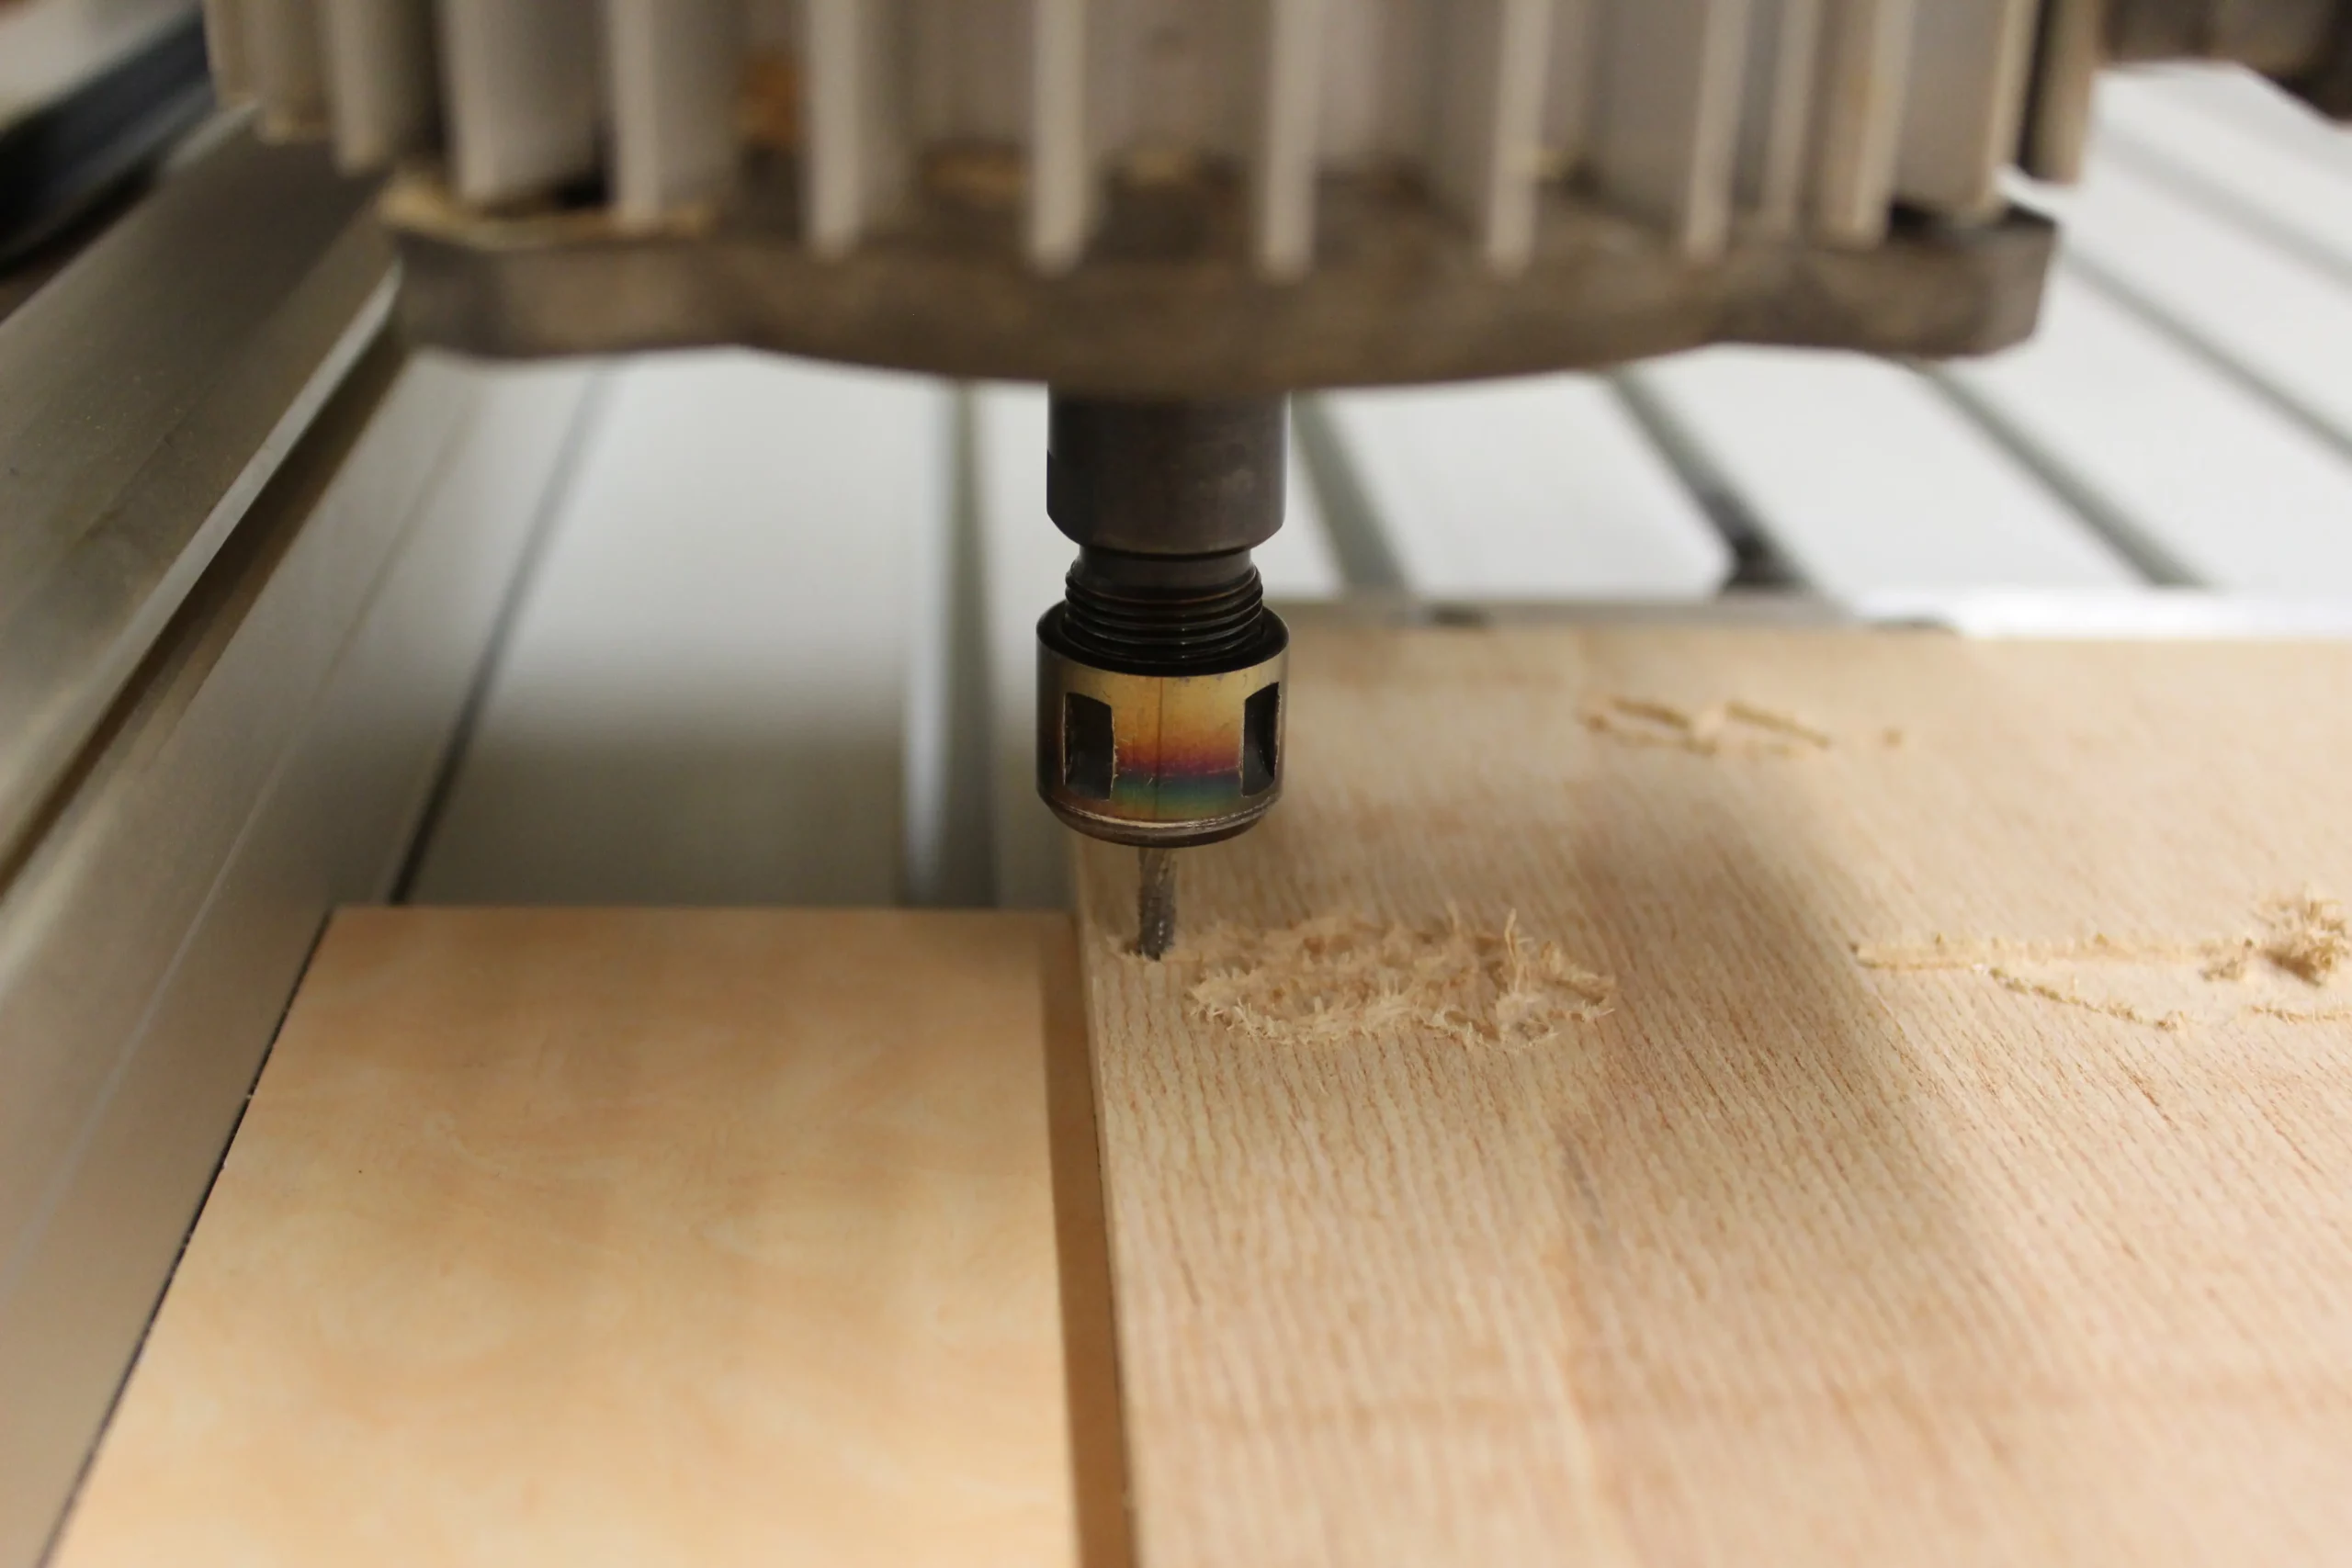
"Milling" wood means two related things, and it helps to keep them straight. Primary milling is turning a log into rough boards - the sawmill stage. Secondary milling (what most woodworkers mean day-to-day) is turning a rough board into flat, square, dimensioned stock you can build with. This guide covers both: how a log becomes lumber, why the way it's cut changes the wood's look and stability, how drying makes or breaks a board, and the exact sequence for milling rough stock square in your own shop.
Understanding milling is what separates woodworkers who fight their wood from those who work with it.
From log to board: how lumber is cut
When a log is sawn, the orientation of the cut relative to the tree's growth rings determines the board's grain, appearance, and how much it will move with humidity. Three cuts dominate:
- Plain sawn (flat sawn). The most common and cheapest - the log is sliced straight through, so growth rings meet the face at a low angle. It yields the familiar "cathedral" grain pattern and the most usable boards per log, but it's the least dimensionally stable (more prone to cupping).
- Quarter sawn. The log is quartered and each board cut so the rings run roughly perpendicular (60-90°) to the face. It produces a straight, striped grain (and dramatic "ray fleck" in oak), and is more stable - it moves less and stays flatter. It wastes more wood, so it costs more.
- Rift sawn. Cut at around 30-60° to the rings for the straightest, most uniform grain with no fleck - prized for table legs and anywhere consistent grain matters. It's the most wasteful and priciest.
The trade-off is consistent: the more stable and refined the grain (plain → quarter → rift), the more wood is wasted and the more it costs.
Milling methods and equipment
Primary milling happens on a sawmill. Options range from big industrial band mills to portable rigs a small maker can own:
- Band sawmills - a thin bandsaw blade for accurate, low-waste cuts; the common choice for portable and hobby milling.
- Chainsaw mills - a chainsaw on a guide frame; slow and more wasteful, but cheap and portable enough to mill a fallen tree on site.
- Circular sawmills - fast, traditional, higher kerf (waste).
Logs are often "through-and-through" (live sawn, slabbed straight across) or grade sawn (turned to cut the best boards from the best faces). Slabs for live-edge tables come from through-and-through cutting.
Secondary milling - the shop stage - uses the jointer, planer, and saw, covered below.
Drying: the step that makes or breaks a board
Freshly milled ("green") wood is full of water and will move, cup, and crack as it dries - so lumber must be seasoned before use. Two methods:
- Air drying. Stacking boards with stickers (spacers) between them for airflow, outdoors or in a shed, for months to years. Cheap and gentle, but slow and limited by your climate (it only reaches equilibrium with local humidity).
- Kiln drying. Drying in a controlled kiln in days to weeks, to a lower, consistent moisture content, and hot enough to kill insects. Faster and more uniform - most bought lumber is kiln dried.
The target is moisture content in equilibrium with where the wood will live - typically 6-8% for indoor furniture, higher for outdoor use. A moisture meter is the woodworker's friend here: building with wood that's still too wet is the classic cause of joints that fail and panels that split as the piece finishes drying in a heated home. Even properly dried wood moves seasonally, so good design allows for it.
Milling rough stock square in your shop
This is the everyday "milling" most woodworkers do: taking a rough, possibly cupped or twisted board and making it flat, straight, and square - often called S4S (surfaced four sides). The sequence matters:
- Rough-cut to length (a little oversize) to relieve tension and make boards manageable.
- Joint one face flat on a jointer (or with a planer sled) - this creates a reference face, removing cup and twist.
- Joint one edge square to that face, against the jointer fence.
- Plane the opposite face parallel on a thickness planer, referencing the flat face, until the board is a uniform thickness.
- Rip the opposite edge parallel on the table saw, then trim to final length.
The order is the key lesson: the jointer makes things flat and square; the planer makes them a consistent thickness. A planer alone can't remove cup - see the full explanation in our wood planers guide. No jointer? A planer sled (a flat carrier that holds the board still) lets a thickness planer flatten the first face.
Grain, movement, and using milled wood well
However it's cut and dried, wood still expands and contracts across its width with seasonal humidity (very little along its length). Good milling and good design account for this:
- Orient grain thoughtfully - quarter and rift sawn boards move less and suit legs and frames; plain sawn shows off figure on panels.
- Let solid-wood panels float in frames so they can move without splitting.
- Acclimate lumber in your shop before final milling and assembly.
Planning a project starts with knowing how much wood you need - run the numbers with our board foot calculator and lumber calculator, and once your stock is milled and smoothed with the right wood sander, protect it with the best wood preservatives.
Frequently Asked Questions
What is wood milling?
Wood milling is converting wood into usable form. Primary milling saws a log into rough boards at a sawmill; secondary milling flattens and dimensions those rough boards into square, uniform stock (S4S) in the shop using a jointer, planer, and saw.
What's the difference between plain sawn, quarter sawn, and rift sawn?
They're different cut orientations. Plain sawn gives cathedral grain, most yield, least stability. Quarter sawn gives straight, striped grain (with ray fleck in oak) and better stability. Rift sawn gives the straightest, most uniform grain, at the most waste and cost. Stability and refinement rise as yield falls.
Do I joint or plane first when milling rough lumber?
Joint first. Joint one face flat to create a reference, then plane the opposite face parallel to thickness. A thickness planer alone presses a board flat as it feeds, so it can't remove cup or twist - the jointer (or a planer sled) does that.
What moisture content should lumber be before I use it?
For indoor furniture, aim for about 6-8% moisture content, in equilibrium with a heated interior. Building with wood that's too wet causes shrinkage, failed joints, and splits as it finishes drying. Use a moisture meter to check before you build.
Can I mill my own lumber from logs?
Yes - a band sawmill or a chainsaw mill lets you cut boards and slabs from logs. Then you must dry the lumber (air or kiln) to the right moisture content before it's usable, which is the slow, essential part of milling your own.
Related guides
Turn milled stock into flat, square boards with a wood planer (or a portable cordless planer), estimate materials with the board foot and lumber calculators, and finish with the right wood sander. Fuzzy on the terminology of what comes off the mill? See timber vs lumber.