10 Best Exterior Paints for Wood Siding
When a first impression lasts forever, you want it to be the best one.

And what is a better way to create a lasting first impression of your house than to paint its exteriors with the best exterior wood paint?
After all
You will do well with the best outdoor house paint and be satisfied with the results.
Well, you should go for the best product which is specifically designed for wood surfaces because these paints respond to the texture and weathering needs of the wood. You have to rely on the protective features that come with the paints which are exclusively engineered to protect the wood.
Now you know what you want.
So let us consider these exterior paint reviews comprising of the best products in this niche.
Let’s Dive in!
Best Exterior Paints for Wood Siding 2021:
Here are our picks for the top exterior paint for wood siding that provide great value for each penny spent.
| Exterior Paint | Woody Rating | Price |
|---|---|---|
| Prestige Paints E100-9 | 10/10 [Editor's Choice] | Check Price |
| Montage Signature | 8.5/10 | Check Price |
| BEHR Premium Plus | 8/10 | Check Price |
| KILZ Exterior | 7.5/10 | Check Price |
| Diamond Brite 31000 | 7.5/10 | Check Price |
| Rust-Oleum 3104 | 8/10 | Check Price |
| Valspar 3125 70 | 7.5/10 | Check Price |
| Rust-Oleum 1976730 | 7/10 | Check Price |
| Benjamin Moore Aura Exterior | 7.5/10 | Check Price |
| KILZ Premium High-Hide | 7/10 | Check Price |
Prestige Paints E100-9 Exterior Paint and Primer
[Editor’s Choice] 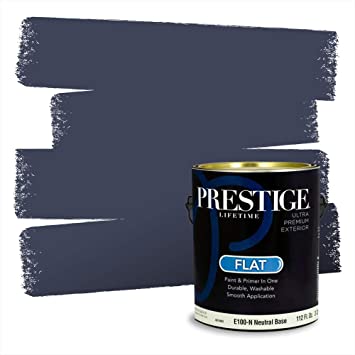 Why We Love It:
- Available in multiple finishes
- Optimal coverage
- Effectively covers rough surfaces
- Available in white
| Pros | Cons |
|---|---|
| ✅ Lifetime warranty | ❌ Limited colors |
| ✅ Self-primer | |
| ✅ Smooth application | |
| ✅ Vibrant finish | |
| ✅ 100% Acrylic latex | |
| ✅ Quick dry | |
| ✅ Lasts longer | |
| ✅ Low VOC | |
| ✅ Useful for various surfaces |
Prestige Paints Exterior Paint and Primer is one of the best outdoor paints. Its superiority comes from its self-priming nature, eco-friendliness, and cost-effective coverage. It is available in white color. And you can choose between satin, flat, or eggshell textures for exterior surfaces. Some variations are also available for indoor surfaces. Other than wood, this paint makes the best choice for masonry, vinyl, and cement surfaces. For the new wood surfaces, this paint still requires an oil-based primer. The paint will dry within two hours; however, it needs up to 12 hours of drying time before the application of the second coat. Leave for a longer time before applying the second coat if the temperature is low in your area. A single 1-gallon container covers about 400 sq. feet. Once you have applied the required coats, your surface will retain the paint for the coming years and resist weather-induced color changes. Considering the level of finish quality and protection, especially in such a budget, this is perhaps the best paint for wood siding. Check Price on Amazon
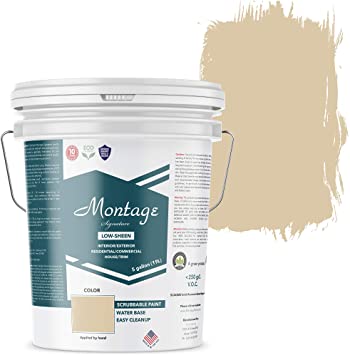
Montage Signature Interior/Exterior Eco-Friendly Paint
 Why We Love It:
- Available in 24 different colors
- Eco-friendly
- Ten-year warranty
- Reliable color hide
| Pros | Cons |
|---|---|
| ✅ Resists mold and mildew | ❌ Might need double coating |
| ✅ UV protection | |
| ✅ Fade resistance | |
| ✅ Quick dry | |
| ✅ Budget friendly | |
| ✅ Highly durable | |
| ✅ Great coverage | |
| ✅ Useful for multiple surfaces | |
| ✅ Interior+Exterior paint |
This paint gives two different finishes – low-sheen and semi-gloss. As well as being the best outside house paint, Montage Signature also makes the best interior paint for most household users. It’s long-lasting and resists mildew, mold, and moisture. Whether you are looking for the best exterior door paint or your concern only relates to getting the best product for wood siding only, you can rely on the vast variety of colors this product offers. One gallon of this paint can cover up to 100 square feet area and it gives a smooth finish. Check Price on Amazon
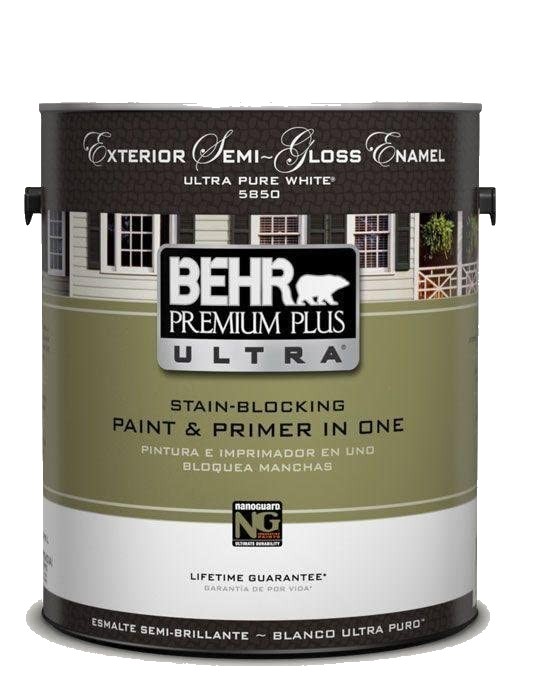
BEHR Premium Plus Ultra Semi-Gloss Enamel Exterior Paint
 Why We Love It:
- Optimal coverage
- Durable
- Excellent quality
- Available in pure white color
| Pros | Cons |
|---|---|
| ✅ Low VOC | ❌ Costly |
| ✅ Superior quality finish | |
| ✅ Optimal stain removal | |
| ✅ Great for rough surfaces | |
| ✅ Easy to apply | |
| ✅ Thick | |
| ✅ Aesthetic look |
This is the best paint for exterior projects. It works well on wood and doesn’t need priming. BEHR Premium Plus is a paint and primer in one package. It saves you the hassle of going through the two steps separately. One prominent feature of this paint is its quality coverage. The paint hides every type of stain. It gives a smooth finish that is unrivaled and superior. The number of finished or unfinished coats on the wood surface has little to no saying in the appearance of BEHR’s finishing coat. Plus, the paint is the most durable and long-lasting of all the products available in the market. You can be assured that it will retain its quality over years. It resists cracks and changes in color. You can also rely on its mildew resistance for prevention from green matter. Another guarantee of its reliability is that BEHR is the best exterior paint brand and rivals like those of Benjamin Moore and KILZ. The paint is not confined to its use on wood surfaces. If you want to apply it on other surfaces, you can do so without worrying about rusted metals also. You also don’t have to worry about the age of the wood surface for which you are using it. It gives optimal results on new as well as worn-out wood sidings. So, if you have yet to decide between changing your wood sidings or only re-painting them, you can keep them for another five years. Check Price on Amazon
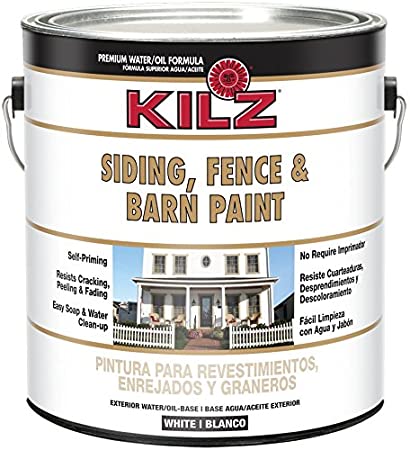
KILZ Exterior Siding, Fence, and Barn Paint
 Why We Love It:
- Reliable brand
- Cost-effective
- Highly durable
- Available in two colors
| Pros | Cons |
|---|---|
| ✅ Reasonable coverage | ❌ Prone to dust |
| ✅ finish | |
| ✅ High UV protection | |
| ✅ Great value | |
| ✅ Useable on various surfaces surfaces |
This is the best exterior paint for wood siding because of its high-intensity endurance and resistance. Its UV protection keeps it safe from strong rays for years to come. If you want latex paint, this product is for you. At the same time, if you are searching for exterior oil-based paint for wood, this product also includes the attributes of an oil-based primer. Combining the features of two contrasting types of exterior paints allows longevity, versatility, and adhesion of this paint. One gallon of this product is sufficient for up to 500 square feet area. However, this area has to be smooth. If the surface has a high level of porosity, the paint should be enough for an area of up to 200 square feet. It dries in two to three hours and is ready to take a second coat in up to eight hours. Other than its excessive UV protection ability, this pain effectively resists cracking, fading, peeling, and blistering. All in all, this is a great offering and perhaps the best paint for wood siding on a budget. Check Price on Amazon
Diamond Brite Paint 31000
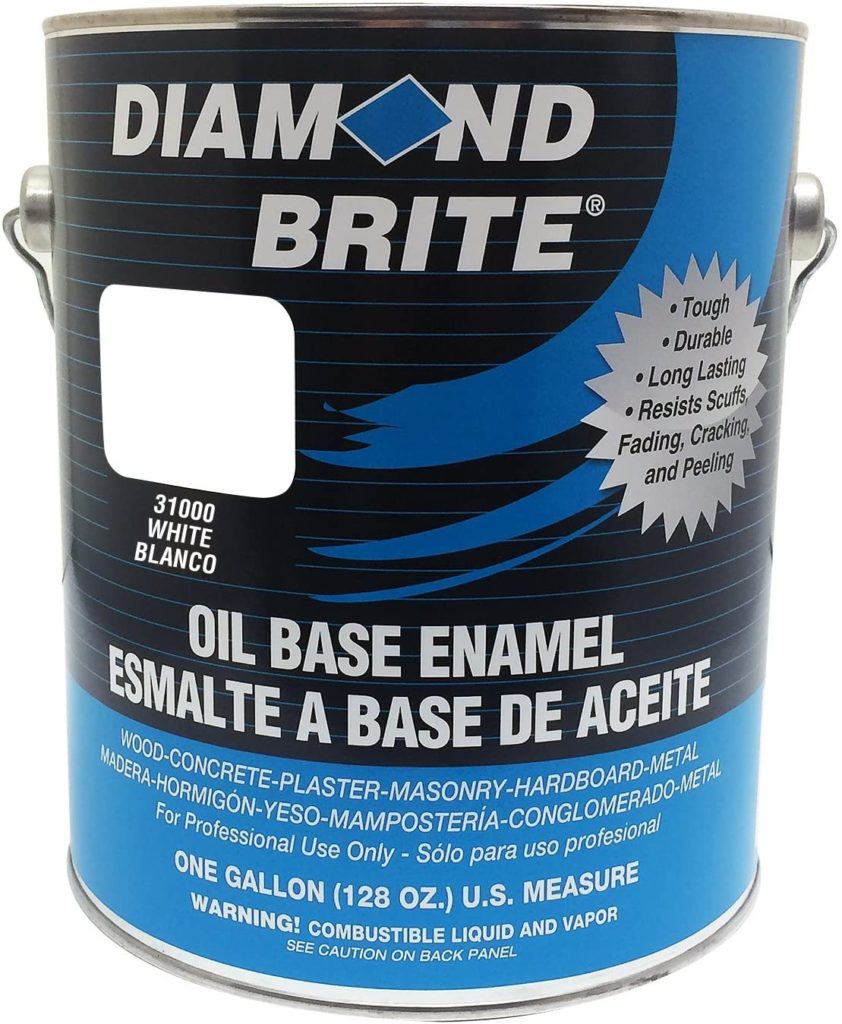 Why We Love It:
- Resists cracking, peeling, and fading
- Available in twelve colors
- High durability
- Easy to apply
| Pros | Cons |
|---|---|
| ✅ Useful for multiple surfaces | ❌ Long dry time |
| ✅ Budget-friendly | |
| ✅ Enhanced durability | |
| ✅ Industrial-grade paint |
Its budget-friendliness makes it the best paint for exterior wood trim. This is a professional quality, industrial-grade wood paint which is useable on many surfaces. These surfaces include drywall, metal, brick, stucco, plaster, masonry, as well as wood. It is easy to apply and you can use a roller, brush, or spray to get the job done. Although the paint dries in 10 to 12 hours, you can only give it a recoat after a whole day. This high gloss paint resists mildew. Other damage it resists include scuffing and cracking. Check Price on Amazon
Rust-Oleum 3104 Zinsser 1-Qt. PermaWhite Exterior Satin
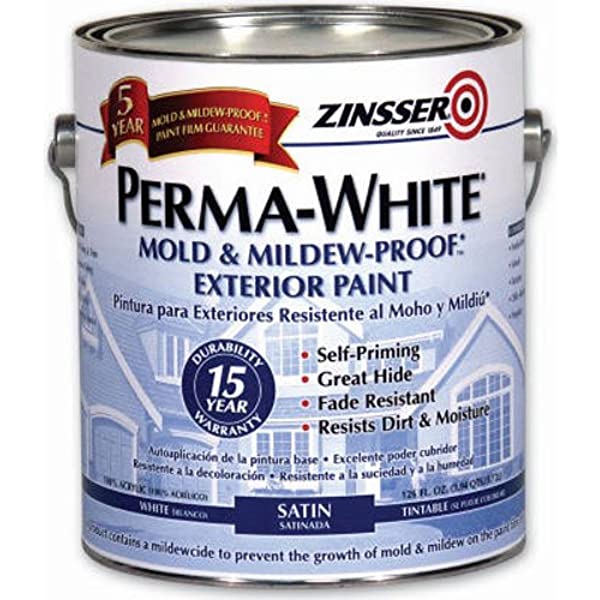 Why We Love It:
- Resists mold and mildew
- Fresh look for years
- Available in white color only
| Pros | Cons |
|---|---|
| ✅ Self-priming | ❌ May need extra coats |
| ✅ Budget-friendly | |
| ✅ Fine finish | |
| ✅ Easy to clean |
Rust-Oleum 3104 Zinsser PermaWhite Exterior is the best exterior wood paint that you can use to resist mold and mildew. But this resistance makes just one of many qualities which this paint offers. Other qualities include fade resistance and dirt and debris prevention. Its manufacturer, Rust-Oleum is one reliable brand in the exterior and interior paint industry. It is known for its high-quality finish and durability. This particular paint is one of the more budget-friendly versions supplied by the company. Ease of application is another advantage worth mentioning here. It needs two or more coats to give the desired finish. Fast drying time means that you can apply the next coat two hours after applying the first one. Check Price on Amazon
Valspar 3125 70 Barn and Fence Latex Paint
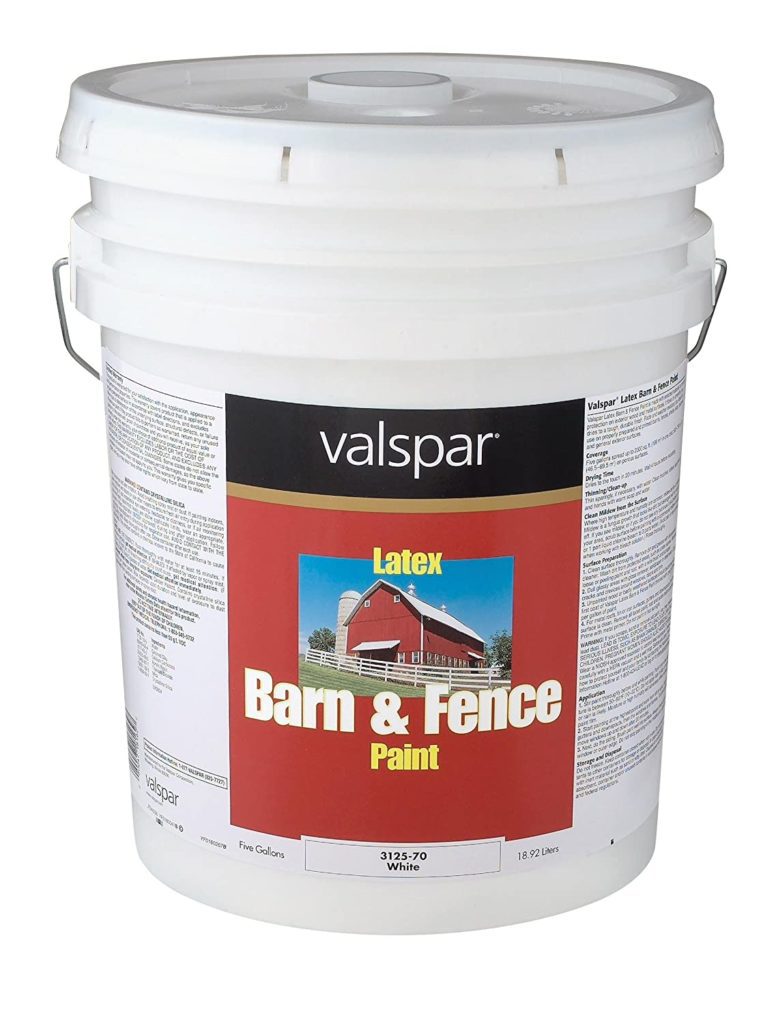 Why We Love It:
- Multi-purpose
- Enhanced durability
- Available in two colors - red and white
| Pros | Cons |
|---|---|
| ✅ Instant dry | ❌ Thin |
| ✅ Easy application | |
| ✅ Self-priming | |
| ✅ 1 gallon covers uptot 400 sq. feet | |
| ✅ Cheap |
This high-quality exterior paint is developed considering the painting needs of the barn and fence. The tough painting needs that come with these exterior surfaces attract paint that is as tough and durable. Consequently, Valspar’s barn and fence latex paint are one of the few paints which fulfill the quality needs of customers. Other than being the best exterior wood paint, it is also the best solution for other surfaces including masonry, metal, steel, and aluminum. It has a light finish and you may need two or more coats to get a solid color. The best part is that the paint is self-priming which means that you don’t have to apply primer to prepare the surface before applying this paint. It has an opaque nature and allows the wood grain to appear from underneath. It takes only twenty minutes to dry and you can apply the second coat after 4 hours. The paint resists fading and changes color and texture that may arise because of the weather. All the above features have enabled this product to be included among the best paint for wood siding. Check Price on Amazon
KILZ Premium High-Hide Stain Blocking Interior/Exterior Latex Primer/Sealer
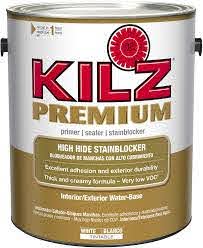 Why We Love It:
- Powerful stain-blocking ability
- Effective for changing color
- For both exterior and interior surfaces
- Available in white
| Pros | Cons |
|---|---|
| ✅ Zero VOC | ❌ May not hide strong stains |
| ✅ Long-lasting | |
| ✅ Useful for multiple surfaces |
This is another exterior paint that combines the properties of both primer and paint. This latex paint is easy to use and works well on previous stains and paints. Its stain-blocking quality makes it an excellent choice for those wood siding painting projects which need a change in color. It is the best outdoor house paint not only for woodwork, but also for plasters, masonry, paneling, bricks, and drywalls. You can count on it to hide differences in porosity, texture, and color. One key feature of this product is its low environmental footprint because of zero VOC in it. Other than being one of the best outdoor paints for wood, it is an excellent choice for indoor surfaces because of its ability to sustain in high-humidity areas like bathrooms and kitchens. Also, it requires minimal efforts for cleaning and maintenance. A 5-gallon bucket can adequately cover around 400 square feet. Its durability gives users years-long peace of mind. Check Price on Amazon
Benjamin Moore Aura Waterborne Exterior Latex Paint
 Why We Love It:
- Varied color palette
- Protects against harsh weather
- Color lock technology superior fade resistance
| Pros | Cons |
|---|---|
| ✅ Self-priming | ❌ Can be costly |
| ✅ Ease of application | |
| ✅ Lifetime limited warranty | |
| ✅ Superior fade resistance |
If you have some dollars to spend and want a superior quality finish for your wood siding, this Benjamin Moore makes the best outdoor paint for wood siding. It features innovative Color Lock technology that resists fading. If you want to apply it to previous paint, you can be sure that it will effectively hide a few coats of the previous color. It resists the impact of changing weather conditions and is waterproof. Also, it resists mold and mildew. It is pretty easy to apply and you don’t need much effort to maintain it. It is self-priming in most cases. However, you should consider its instruction manual to learn if your surface is ready for the finish coat. You can count on its quick-drying re-coating time to finish the job promptly. Later on, soap and water will be enough to keep the paint clean. Other than the semi-gloss finish, you can get this best exterior house paint in flat, satin, and low-luster finishes. One of the best paint for wood siding considering its aesthetic and finish quality. Totally deserves a spot on this list. Check Price on Amazon
Rust-Oleum 1976730 Painters Touch Latex
 Why We Love It:
- Available in 27 different colors
- Trusted brand
- Quick-drying
- Low odor
| Pros | Cons |
|---|---|
| ✅ Cost-effective | ❌ Sanding is required before application |
| ✅ Smooth result | |
| ✅ Smooth result | |
| ✅ Great for rough surfaces |
This is the overall best house paint and can be used on the interior as well as exterior surfaces. Coming from the trusted brand of Rust-Oleum which is known for best-rated exterior paints as well as trusted interior paints, you can be sure of its quality, finish, and durability. This product is available in 27 different finishes and colors and can work on multiple surfaces including metal masonry, ceramic, and plaster in addition to wood. One gallon of this product covers up to 120 square feet. Combine it with its low cost to get the most cost-effective printing solution for your wood siding. The application is easy. You have to start with sanding the surface to prepare it for the coat. Once applied, the paint dries to touch within a half-hour. The product gives long-lasting protection against cracking and peeling. Check Price on Amazon
Best Exterior Paint for Wood Siding - Buying Guide
What is the best exterior paint for wood?
Prestige Paints E100-9 tops the list. This paint is manufactured keeping wood fence, deck, siding, and doors. This exterior grade paint makes sure you get peace of mind for the coming years while nurturing the beauty of your exterior. Other than BEHR’s paint, you can rely on KILZ’s enamel for porch and patio and Valspar’s latex paint. Whenever, you go shopping for the best exterior paint for wood siding, make sure that the chosen paint should be made for exterior usage and also for wood surfaces. Also, you should notice if they work well on previously painted surfaces or not.
How do you paint exterior wood siding?
The two easy steps of painting your exterior wood sidings are preparing the surface and painting. But there is more to it than what meets the eye. So the first step of planning starts before you even start doing any preparations. And this is the most crucial step and defines the results you get from your efforts. This is the step where you choose the finish you want and then you choose the best exterior wood paint for that finish. Next, you clear the surface and clean it with a pressure washer. The next step in preparing the surface is repairing its damaged areas and scraping off excess paint. After you have thoroughly cleaned the surface, it’s time to sand it and prime it. Once your surface is ready for the next coat, you can apply the paint.
How long does exterior paint last on wood siding?
You may expect a life ranging between ten and fifteen years. This life entirely depends on the quality of the paint and how you have prepared your surface before applying the paint. If you get the best exterior paint for wood siding and prepare your surface well before applying it, you should get more than ten years under the harshest weather conditions. This life can shorten significantly if you skip on the preparation steps or you choose the sub-standard quality of the paint.
What is the longest-lasting exterior paint?
Acrylic paints are the most durable paints for wood siding.
Is it better to roll or spray exterior house paint?
Although roller painting gives the most beautiful finish, it may not be the best or practical solution if you are working on exterior surfaces. When you are working on an outdoor painting project, your goal is to cover large areas quickly and efficiently. Accuracy and detail are not your biggest concerns here. In such circumstances, you can switch to spray painting which is quicker than roller painting.
What kind of paint do you use on wood siding?
The best exterior paint for wood siding is acrylic latex emulsion paint. Also, note that wood sidings require a primer before the application of latex paint. Most latex paints are a two-in-one solution with primer built into them. However, in case, you choose a paint that does not include priming qualities, you should buy a separate primer and use it before painting. References: Studies on the barrier properties of exterior wood coatings Exterior wood coatings